
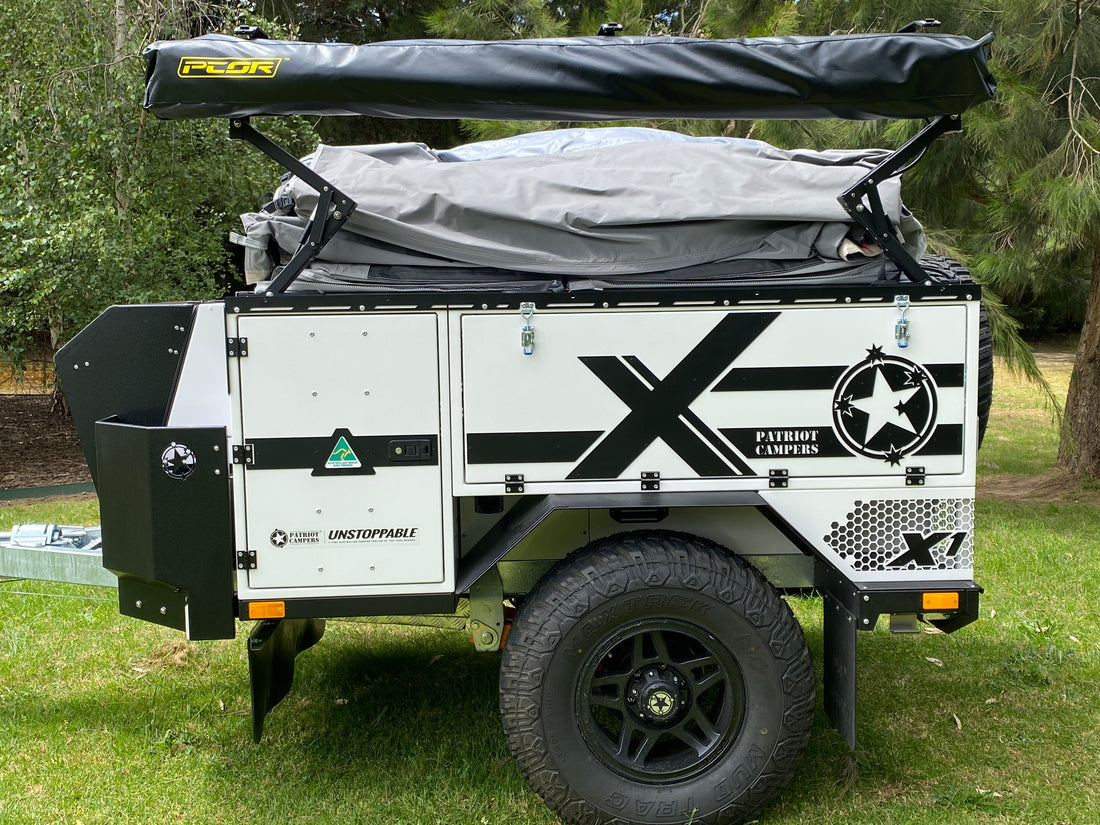
HOW TO SET UP A PATRIOT CAMPERS X1
When we handover a camper trailer to you, we will always show you how to set up and pack up your camper trailer. Whether you just want to look back on how we did it or whether you are doing your research to see how easy it is to set up a Patriot Campers X1, know that you have come to the right place. We will talk you through each step of setting up a Patriot X1 camper trailer.
1. UNHITCH
Unplug your cables and screw up your chains underneath as well. With the DO35 hitch lock, simply remove the cap, push the pin in and the mechanism back before releasing the red pin. Now you have detached the camper trailer from your vehicle. You can raise the jockey wheel further, until you are sure the hitch lock is removed from the tow bar pin.
2. LEVEL THE TRAILER
The next step is levelling the X1 camper trailer. You can use an app for this and just put your phone inside the kitchen area of the trailer. Always make sure your Patriot X1 is levelled from front to rear and from left to right. Our tip is to lower your trailer down unto its bump stops and then raise the sides that you need to raise. To do that, use the control panel to let all the air out. Let the air back in the sides which need to go up to level your camper trailer.
3. RAISE THE SCISSOR LIFT

It is easier to raise the scissor lift on your awning, but not set it up yet, to access your tent bag zip. To do so, release the latch and gently push the scissor lift a bit. Lock the support arm into place, which is confirmed with a clicking noise. Go to the other side and repeat.
4. REMOVE AND STORE THE TENT BAG

Now that you have access to the zip on the X1 tent bag, you should undo all ten straps. To do this, lift the tip of the buckle to release the pressure on the strap. This way you can easily undo the hook at the bottom of the strap. We would recommend to then pull the strap back, so it is out of the way when you continue removing the tent bag. We advise you use the cord on the zip to go around the trailer to unzip the bag. When you arrive at a corner, just simply pull on the loop to expose the zip. This makes the process a little easier. You can now take the tent bag of the Patriot camper trailer and place it on the ground to start folding it.
Pick any side and fold it inwards on the crease. Go to the opposite end and fold inwards into its crease, then do the same for the two other sides. It is like wrapping a present. Now that you have folded all your sides inwards, you can fold the tent bag along the long side towards the middle and fold the opposite side over it. Now you have a long skinny tent bag and can start folding the short sides towards the middle. Lastly, fold a short side over the other one, and you have a nice square tent bag that you can place in one of your trailer compartments.
5. SET UP X1 MAIN TENT

The tent has also been folded up like a present, so you start by unfolding all three sides (front, rear, and opposite of scissor lift). Then you step up on to the drawbar, but make sure to do this safely by placing your right leg inside the A-frame while facing the tent. Grab the first bar inside the tent and push it up, towards your left. Make sure it will stay out. Step down, off the A-frame, and face your tent. There is a bar above the tent door, which you can pull out. Then you can pull the base of the tent out to straighten the floor before you step inside the tent.
You then need the two poles which are either in the back of the trailer, or when we do the handover, in the pocket between the mattress and your storage compartments. Grab your pole and have the C-clip facing upwards. Twist anti-clockwise to unlock the full length of the pole and twist clockwise to lock in place. Place the C-clip onto the bar above the tent door, walk forward and place the base of the pole in the middle of the round floor disc. Then make sure the pole is stretched as much as possible and straight up, for maximum support. Do this with the second pole as well on the other side of the tent door.
Now it is time to peg the corners of your tent. You can use the strap to tighten further if needed, but don’t put too much pressure on them.
6. ROLL UP THE CANVAS

A little tip from Camping Adventures to you - If you want to fold the canvas and roll it up by yourself, it is easier to grab a bottom corner and fold across to the long side of the canvas to create a triangle shape. Then take the other bottom corner and fold it to the other side, so the point of the triangle is now facing you. You can easily roll up the canvas out of the way and secure it with the Velcro straps at the top. If you wish, you can do the same with the fly screen from the inside of the tent.
7. ATTACH THE KIDS ROOM

Now you can grab the pole with the hook-on top, from the rear of your X1 trailer. The eyelet is facing away from the trailer on the Kids Room. Twist anti-clockwise to extend the pole and clockwise to lock it in place. Then, take the long strap from your Main Tent, pull them through the two hoops on top of the Kids Room tent, and place the loop over the hook of the pole. Place the strap from the Kids Room over the top of that one, which should sit nice and flush with that flap. Take out the strap from below and peg it down away from the tent at the desired distance. Now you can pull and tighten the long strap from the Kids Room. This ensures that the Main Tent and Kids Room are pulled away from the X1 camper trailer as much as you can and that they are secured. You can also tuck on the long strap from the main tent to lift the roof of the Kids Room up. Just make sure that the tension is away from the trailer and not towards it.
Peg down the flaps at the sides of the Kids Room to create airflow through the windows at the bottom of the room. If you need to get rid of some rocks or debris, please do so. If you cannot do that, we would recommend placing a ground sheet under your tents, to protect the floors of your tents. A tarp is not a great choice, as water and humidity can create pooling inside your tent.
8. ATTACH AWNING FLAP TO SCISSOR LIFT
Pull your awning flap over the awning cover and secure the clips on both sides and in the middle. Ensure that the flap is straight but does not pull the tent towards the camper trailer. You will get some water pooling in this area, which it is designed for. Once it reaches a certain level, the water will escape via the edges.
9. OPEN THE BED

There are two red clips, one on each side of the bed. You can either access these by reaching over the bed or from outside the tent. Pull on the red tag to release these clips. To flip over the bed frame, place one hand on the black handle and one hand on the frame itself. Once the bed frame comes close to its tipping point, keep one hand on the handle and move your other hand onto the ladder. Just a little safety precaution in case the ladder was not secured properly. Gently pull the bed frame out completely.
Alternatively, you can also access the bed frame from the side of the tent and push it up a bit. Just enough, so that you can access the handle and ladder from the inside to bring the bed down completely.
To set up your ladder, hold on to it with one hand and with the other hand pull on the pin at the bottom of the ladder. This will release the ladder. Bring it down and place the base onto the carpet square that is provided with your Patriot Campers X1.

Bring the support arm up to its relevant slot on the base of the bed. Press the release button on the side and make sure you hear a click when placing the support arm in the suitable slot. Pull out the handle of the ladder by pushing the two clips together and release them when the handle is in place.
Now you can safely get on to the bed frame and flip the mattress over. We recommend using a double fitted sheet for your mattress.
10. ENJOY YOUR CAMPING ADVENTURE!
At Camping Adventures we want to share our passion for the outdoor lifestyle by helping people find their ideal camping solution through honest, personal, and focused customer excellence. So, if you have any questions regarding your Patriot X1 camper trailer, please contact us. Our expert team is here to help you wherever you are in your camping journey. We hope to see you out there!


